How to use OSX Mojave Continuity Camera
In macOS Mojave, Apple has extended its Continuity features so that now you can use your iPhone or iPad’s camera to take a photo or scan a document, and it will be immediately available on your Mac.
Continuity Camera works in several native Mac apps, including Pages, Keynote, and TextEdit. The following steps explain how to use it. Bear in mind that both your iOS device and your Mac need to be logged into the same Apple ID for this feature to work.
How to Add a Photo Using Continuity Camera
- Launch the app that you want to import a photo into.
- Open an existing project or document, or create a new one
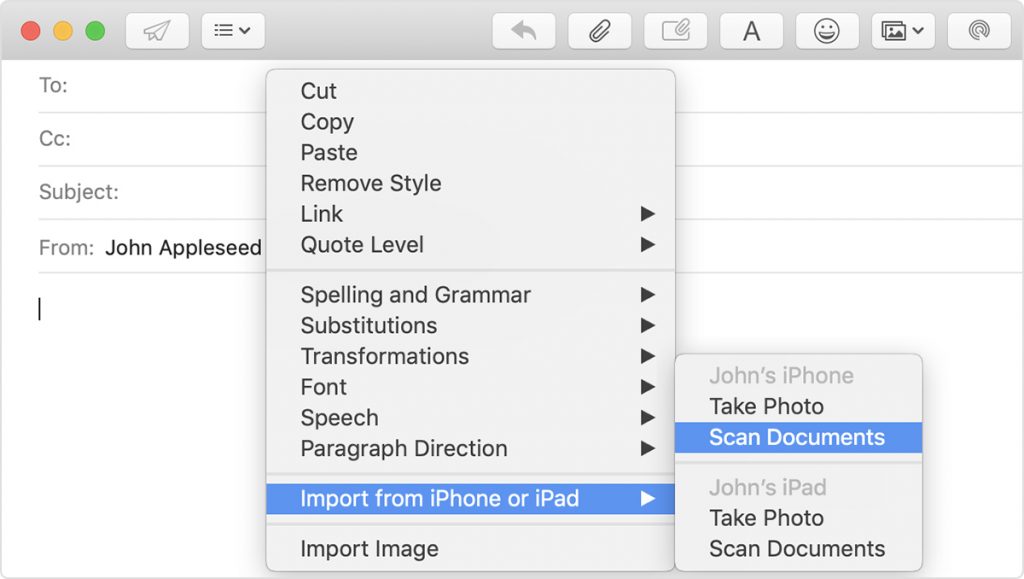
- Right-click (or Ctrl-click) the location where you want to insert the photo.
- In the contextual menu, click Take Photo under the name of the iOS device that you want to use.
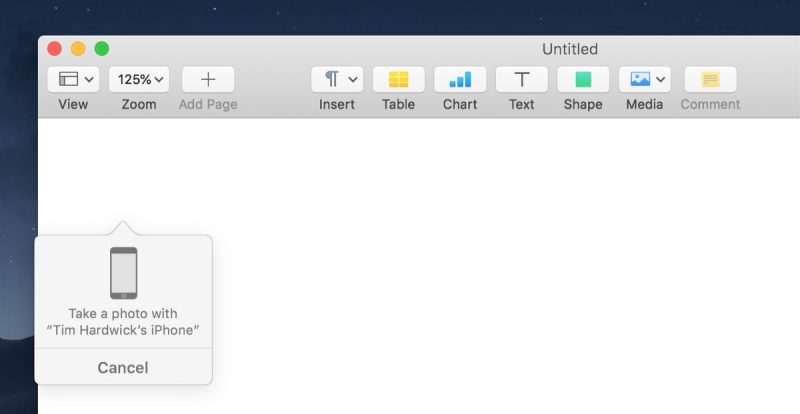
- Take the photo on your iPhone or iPad.
- Tap Use Photo on your iOS device, and the image will appear in the open project or document on your Mac
How to scan a document using continuity camera
- Launch the app you want to use and open a project or document, or create a new one.
- Right-click (or Ctrl-click) the space where you want to insert the captured document.
- In the contextual menu, click Scan Document under the name of the iOS device that you want to use.
- Using your iPhone or iPad’s camera, frame the document in the onscreen viewfinder. The document should turn yellow and scan automatically. You can repeat this step to scan several documents if desired.
- Tap Save on your iOS device, and your scanned documents will be inserted into the open project or document on your Mac.