Using OS X Stacks Feature in Mojave
Here’s how to use stacks to un-clutter your Mac desktop on macOS Mojave using the new Stacks feature as well as customize how the feature behaves.
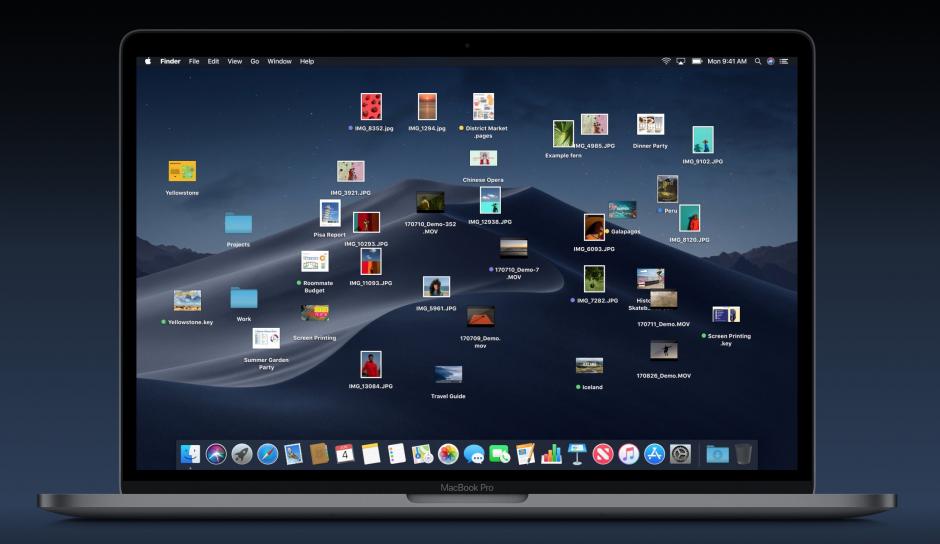
There’s a surprisingly large proportion of people who seem to use their Mac’s desktop as some sort of dumping ground, apparently unaware that the huge mess of icons they then have to stare at is crazy making to some of us.
However, with OSX Mojave installed, there is a way for those same people to have their files on the desktop without having them strewn everywhere like someone sneezed out files. Stacks, as the feature is called, may actually be the best new thing about macOS Mojave – even better than darkmode.
In its simplest form, Stacks allows files to be put into, you guessed it, stacks on the Desktop. Once clicked the stack opens up, just like the Downloads stack in the Dock. Files can be kept in stacks based on all kinds of things, with file type being the default and perhaps the most useful. Want to keep all your screenshots in a stack? No problem!
How to enable and disable stacks
Step 1: Open a Finder window or return to the Desktop before going to the View menu at the top of the screen.
Step 2: Check the Use Stacks option to turn the feature on. Untick it to turn it off.
What you’ll find has happened now is pretty remarkable – all of your files are now sorted into stacks by file type. Clicking on a stack opens it up and all of the files within it can now be clicked, opened, and generally interacted with.
How To Customize Stacks:
There’s more to Stacks, though. If you want to change what appears in a stack, you can customize them to your heart’s content.
Step 1: Back in the Finder, click on the View option again, followed by the Group Stacks.
Step 2: Now you can select what you want your stacks to be grouped by. You’ll notice tags are an option.